

If you want to breathe better at night, nasal strips are one of the fastest things you can try, but there's a right way and a wrong way to use them, and most people only ever learn the wrong way by accident. I found that out myself after grabbing a box of Breathe Right Extra Strength strips from the pharmacy on a whim, because my wife Casey had started sleeping with a pillow over her head some nights and I knew exactly why. The first few strips I stuck on did almost nothing, and it took me longer than I'd like to admit to figure out that the strip wasn't the problem. How I was applying it was.
This is the routine I ended up with after enough trial and error that I finally stopped guessing. Five steps, done in order, every night, and within about a week I had a clear sense of whether nasal strips were actually going to help me breathe better or whether something else was going on that a strip alone couldn't fix. If you're new to nasal strips or you tried one once and figured they didn't work for you, this is the version I wish someone had walked me through the first time, back when I was tearing strips off a sheet at 11pm without giving any of them a fair shot.
Most People Give Up on Nasal Strips Before They've Actually Tried Them Right
A strip stuck on damp skin or placed too high does almost nothing. Breathe Right's Extra Strength Clear strips are built for sensitive skin and hold through a full night once you apply them the right way, which is exactly what these five steps walk you through.
Amazon Check Today's Price on Amazon →Step 1: Figure Out What's Actually Blocking Your Breathing
Before you press a single strip onto your face, it's worth spending thirty seconds thinking about why your nose feels tight at night in the first place. For me it's a mix of a slightly narrow left nostril, something my allergist confirmed isn't a huge deal but does make one side of my breathing harder than the other, plus seasonal allergies that flare up twice a year. Nasal strips work by mechanically pulling the outer walls of your nostrils outward with a pair of flexible plastic bands built into the adhesive, so they're genuinely useful for exactly this kind of structural or allergy-driven narrowing, and for the stuffiness that comes with an ordinary cold.
What they won't fix is a fully blocked airway from moderate or severe sleep apnea, or a deviated septum severe enough that a doctor has already flagged it for a real fix. If you gasp awake, choke, or wake up exhausted no matter how many hours you slept, talk to a doctor before you rely on a strip to solve it. For everyone else, the version that matters here is Breathe Right's Extra Strength Clear, which is labeled for sensitive skin. I've got fair skin that reacts to almost every adhesive bandage I've ever worn, and this is the one that never left redness behind after months of nightly use.
It's also worth thinking about cost per night before you buy, since this is a nightly consumable rather than a one-time purchase. A single box works out to a low cost per night once you're using one every evening, and I've never had a box run short or a strip toward the bottom of the pack feel flimsier than the ones on top. Buy more than one box up front if you know you'll want to run this routine for a full week or two, so you're not making a pharmacy run on night four.
Step 2: Wash Your Face, Then Actually Wait Until It's Dry
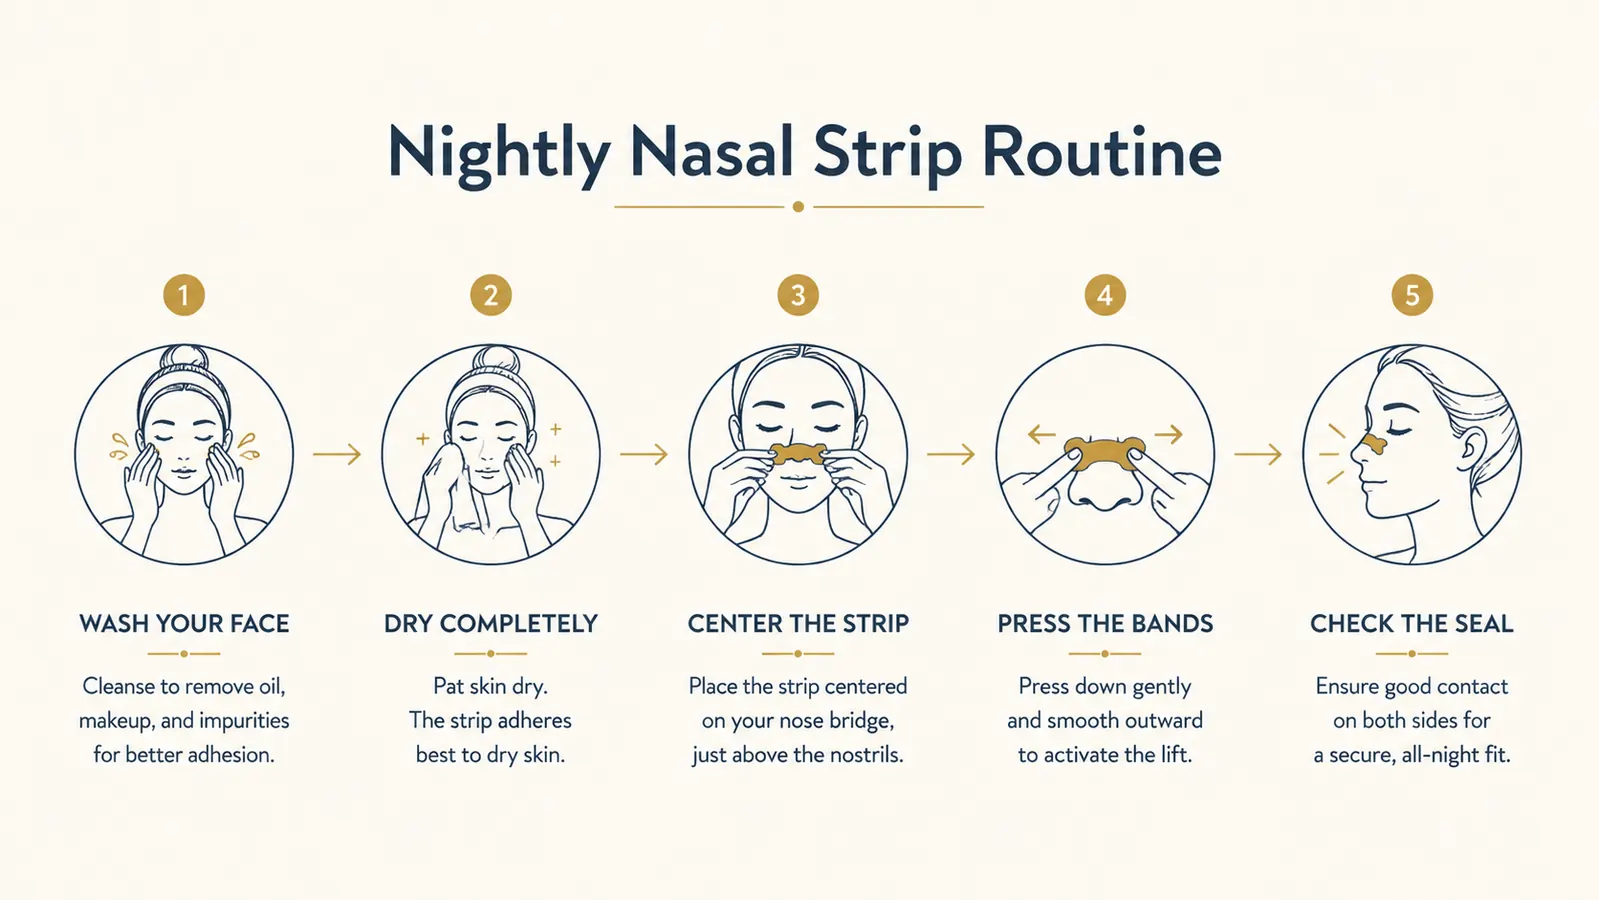
This step sounds too simple to matter, and it's the one that ruined my first week of trying nasal strips. I'd wash my face as part of my normal bedtime routine, then press a strip on right away while my skin still had a thin layer of moisture on it. The adhesive never got a real grip, and I'd wake up most mornings to find the strip hanging off one side or stuck to my pillowcase instead of my nose.
Once I started waiting a full sixty seconds after washing my face, patting it dry with a towel instead of just air-drying, the difference was immediate. The strip held through entire nights of side sleeping and rolling around without budging. Any leftover moisturizer on the bridge of your nose causes the same problem, so if you use a nighttime skincare routine, apply the strip before the moisturizer, not after, or keep the bridge of your nose clear of product entirely.
I also learned to skip this step in the bathroom right after a hot shower, since the steam leaves a film of moisture on your skin longer than you'd think, even after a towel pass. Now I do this part in the bedroom, a few minutes after washing up, so my skin has had a chance to fully air out before the strip ever touches it.
Step 3: Center the Strip and Press the Bands Down Fully
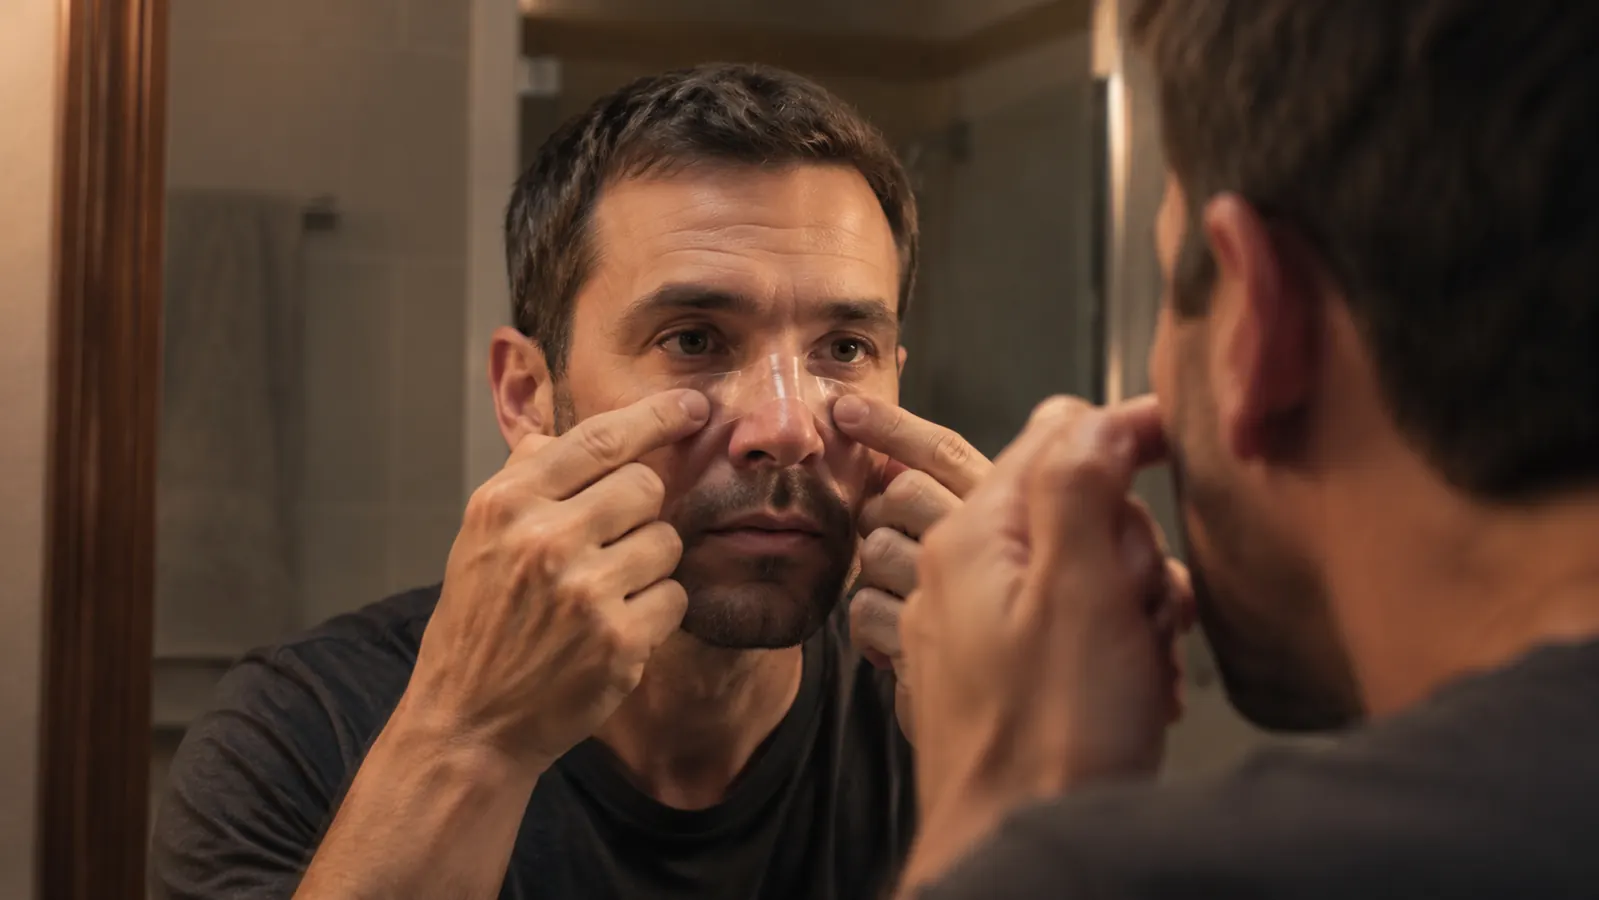
Peel the strip off its backing and lay it across the bridge of your nose so the widest part sits right at the bony ridge, not too high toward your eyes and not too low toward the soft tip of your nose. Placing it too high does almost nothing, since the plastic bands need to sit over the part of your nose that actually narrows when you breathe in. I learned to do this sitting on the edge of the bed with the lamp still on, so I could see what I was doing instead of fumbling with it in the dark.
Once it's positioned, press down firmly along both sides with your fingertips, working from the center outward. You should feel the plastic bands spring back and pull the sides of your nostrils outward almost immediately, that's the actual mechanism doing its job, not a placebo feeling. If you don't feel that gentle outward pull within a few seconds, the strip is either misplaced or wasn't pressed down firmly enough along the edges, and it's worth peeling it off and starting over with a fresh one rather than sleeping in a strip that isn't doing anything.
One mistake I made early on was trying to reuse a strip that had already lost its stick from the night before, pressing it back on a second time to save it for one more use. It never holds the same way twice, the adhesive is a one-night product, and a wrinkled or curling strip won't seal along the edges even if the bands are still intact. Treat every strip as single use and you'll skip a whole category of frustrating half-working nights.
Step 4: Give the Routine a Full Week Before You Judge It
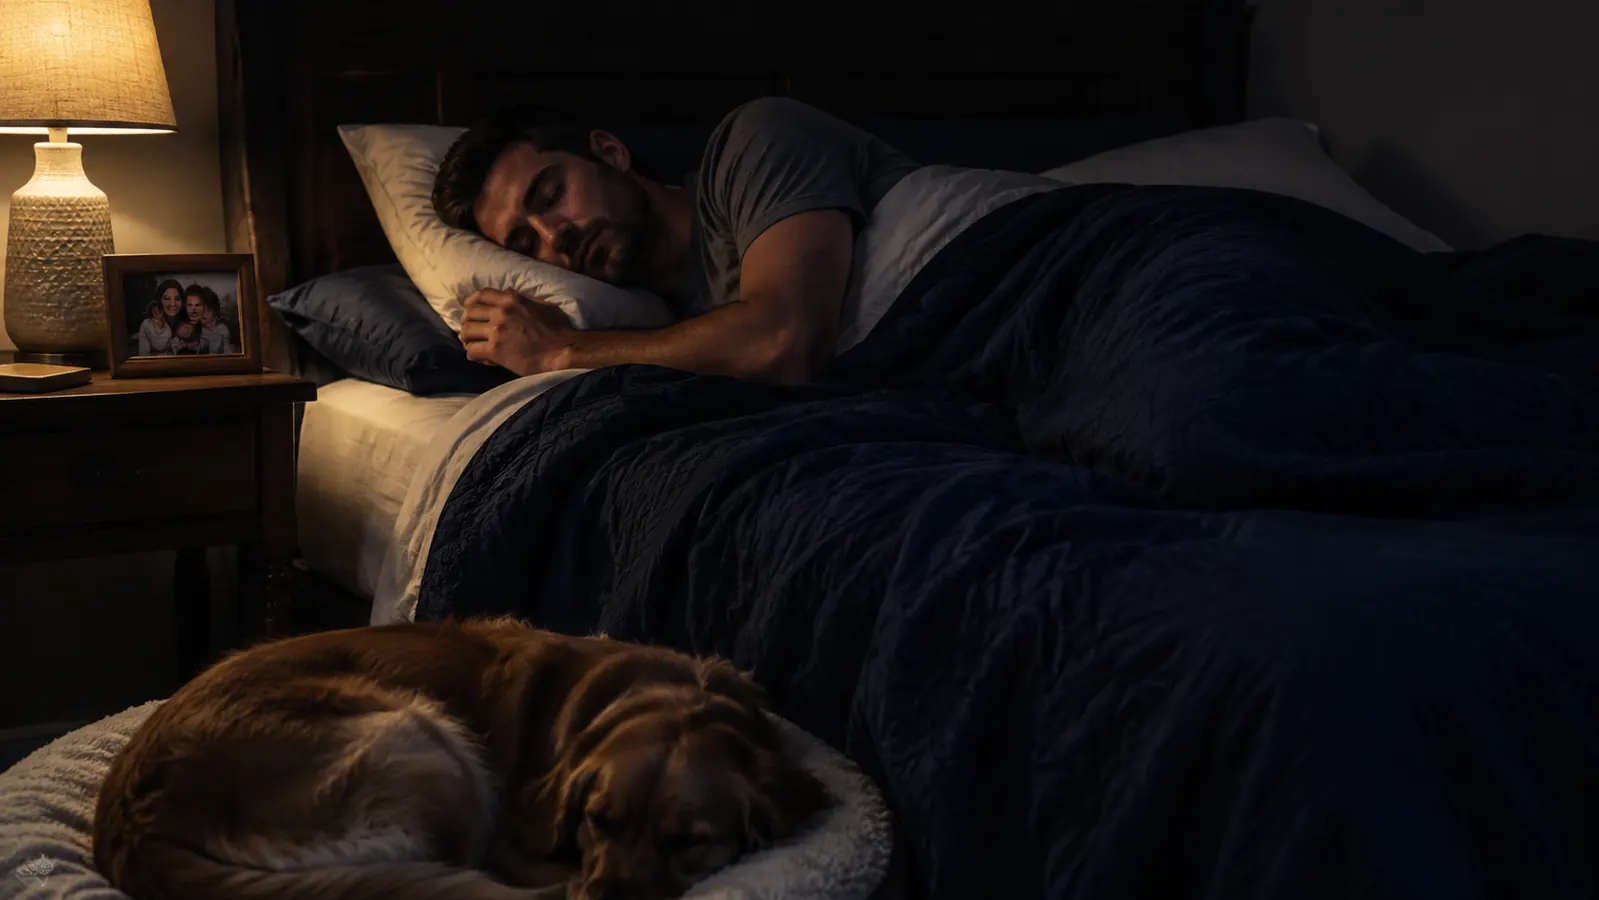
The first night or two, you'll mostly notice the sensation of tape across your face more than any change in your breathing, which is normal and not a sign it isn't working. By night three or four, most people stop noticing the strip itself and start noticing whether they're waking up less congested. I kept a quick note on my phone every morning, congestion on a simple scale, plus whether Casey mentioned hearing me snore, and by day four she told me on her own that my snoring had gone from what she called a chainsaw to something closer to a soft hum most nights.
Our dog Biscuit ended up being an oddly reliable barometer too. She sleeps at the foot of our bed and used to slide off onto the floor whenever my snoring got loud enough to bother her. Once the routine was dialed in, she started staying put most nights, which isn't a scientific measurement, but a week of consistent small signals like that adds up to a real answer. Give it seven nights of doing steps one through three correctly before you decide whether nasal strips are actually helping you breathe better.
The log itself doesn't need to be complicated. I use a one to five scale for how congested I feel on waking, jot a one-line note about whether Casey mentioned my snoring, and that's it. Looking back over seven days of that simple tracking told me far more than trying to judge any single night on its own, since one rough night from a random cold or a late allergy flare can make a genuinely working routine look like it failed.
Step 5: Adjust for Bad Nights Instead of Quitting on Them
There will be nights the strip alone isn't enough, and that's useful information rather than a reason to give up. During allergy season, my morning congestion scores climbed back up for a few weeks even with a strip on every night, because swelling from allergies narrows the passage more than the bands alone can compensate for. On those nights, a saline rinse before bed or an antihistamine, if your doctor's fine with you using one, clears enough of the swelling that the strip can do its job the way it's supposed to.
If you notice you're still breathing through your mouth even with your nose open, the strip is working correctly but you've got a separate habit to address. That's a sign your mouth breathing isn't purely a nasal congestion problem, and no amount of strip placement is going to fix a jaw that falls open out of habit once you're asleep. That's worth solving with a second tool rather than assuming the strip failed, and if you want the full breakdown between an internal nasal dilator and this style of strip, I put together a separate comparison covering that exact tradeoff.
It's also fine to skip a night here and there. I don't wear one on nights when my nose feels completely clear, since there's no real congestion to correct and the strip has nothing to do. Treating this as a tool you reach for when you need it, rather than a habit you force every single night regardless of how you actually feel, keeps the whole routine from turning into one more chore at the end of a long day.
What Else Helps
A nasal strip does most of the heavy lifting, but a few small habits stacked on top made a real difference for me. Sleeping on my side instead of flat on my back kept gravity from working against the swelling in my nose, and running a cool-mist humidifier during the drier months meant I wasn't fighting dry, irritated nasal passages on top of everything else. A saline rinse before bed during allergy season became part of the routine too, clearing out the swelling a strip alone can't reach.
Propping my head up slightly with an extra pillow helped on the roughest congestion nights as well, since keeping your head a bit elevated reduces the pressure that builds up in your sinuses when you're lying completely flat. On my worst nights, the ones where congestion and mouth breathing showed up together, I started pairing the nasal strip with mouth tape, a single vertical strip over closed lips. They solve two different halves of the same problem. The nasal strip opens the passage, and the tape addresses the habit of breathing through your mouth once it's already set in, and using both together on the roughest nights worked better than either one alone.
The strip isn't magic, it's mechanical leverage on the outside of your nose. Applied right, that's usually all it takes.
Do the Five Steps Right and You'll Know Within a Week
Most people who say nasal strips didn't work for them skipped the dry-skin step or placed it too high on the nose. Follow the routine in order, give it seven nights, and you'll have a real answer instead of a guess.
Amazon Check Today's Price on Amazon →